
Free U.S.A. Shipping on Orders over $100 (excluding print on demand items)
Free U.S.A. Shipping on Orders over $100 (excluding print on demand items)
Stories and Photos by Eric Justus
Check out more from Eric on his Instagram Account: @eric_jjj
Make sure to subscribe to our email newsletter to be the first to know about our latest tech articles!
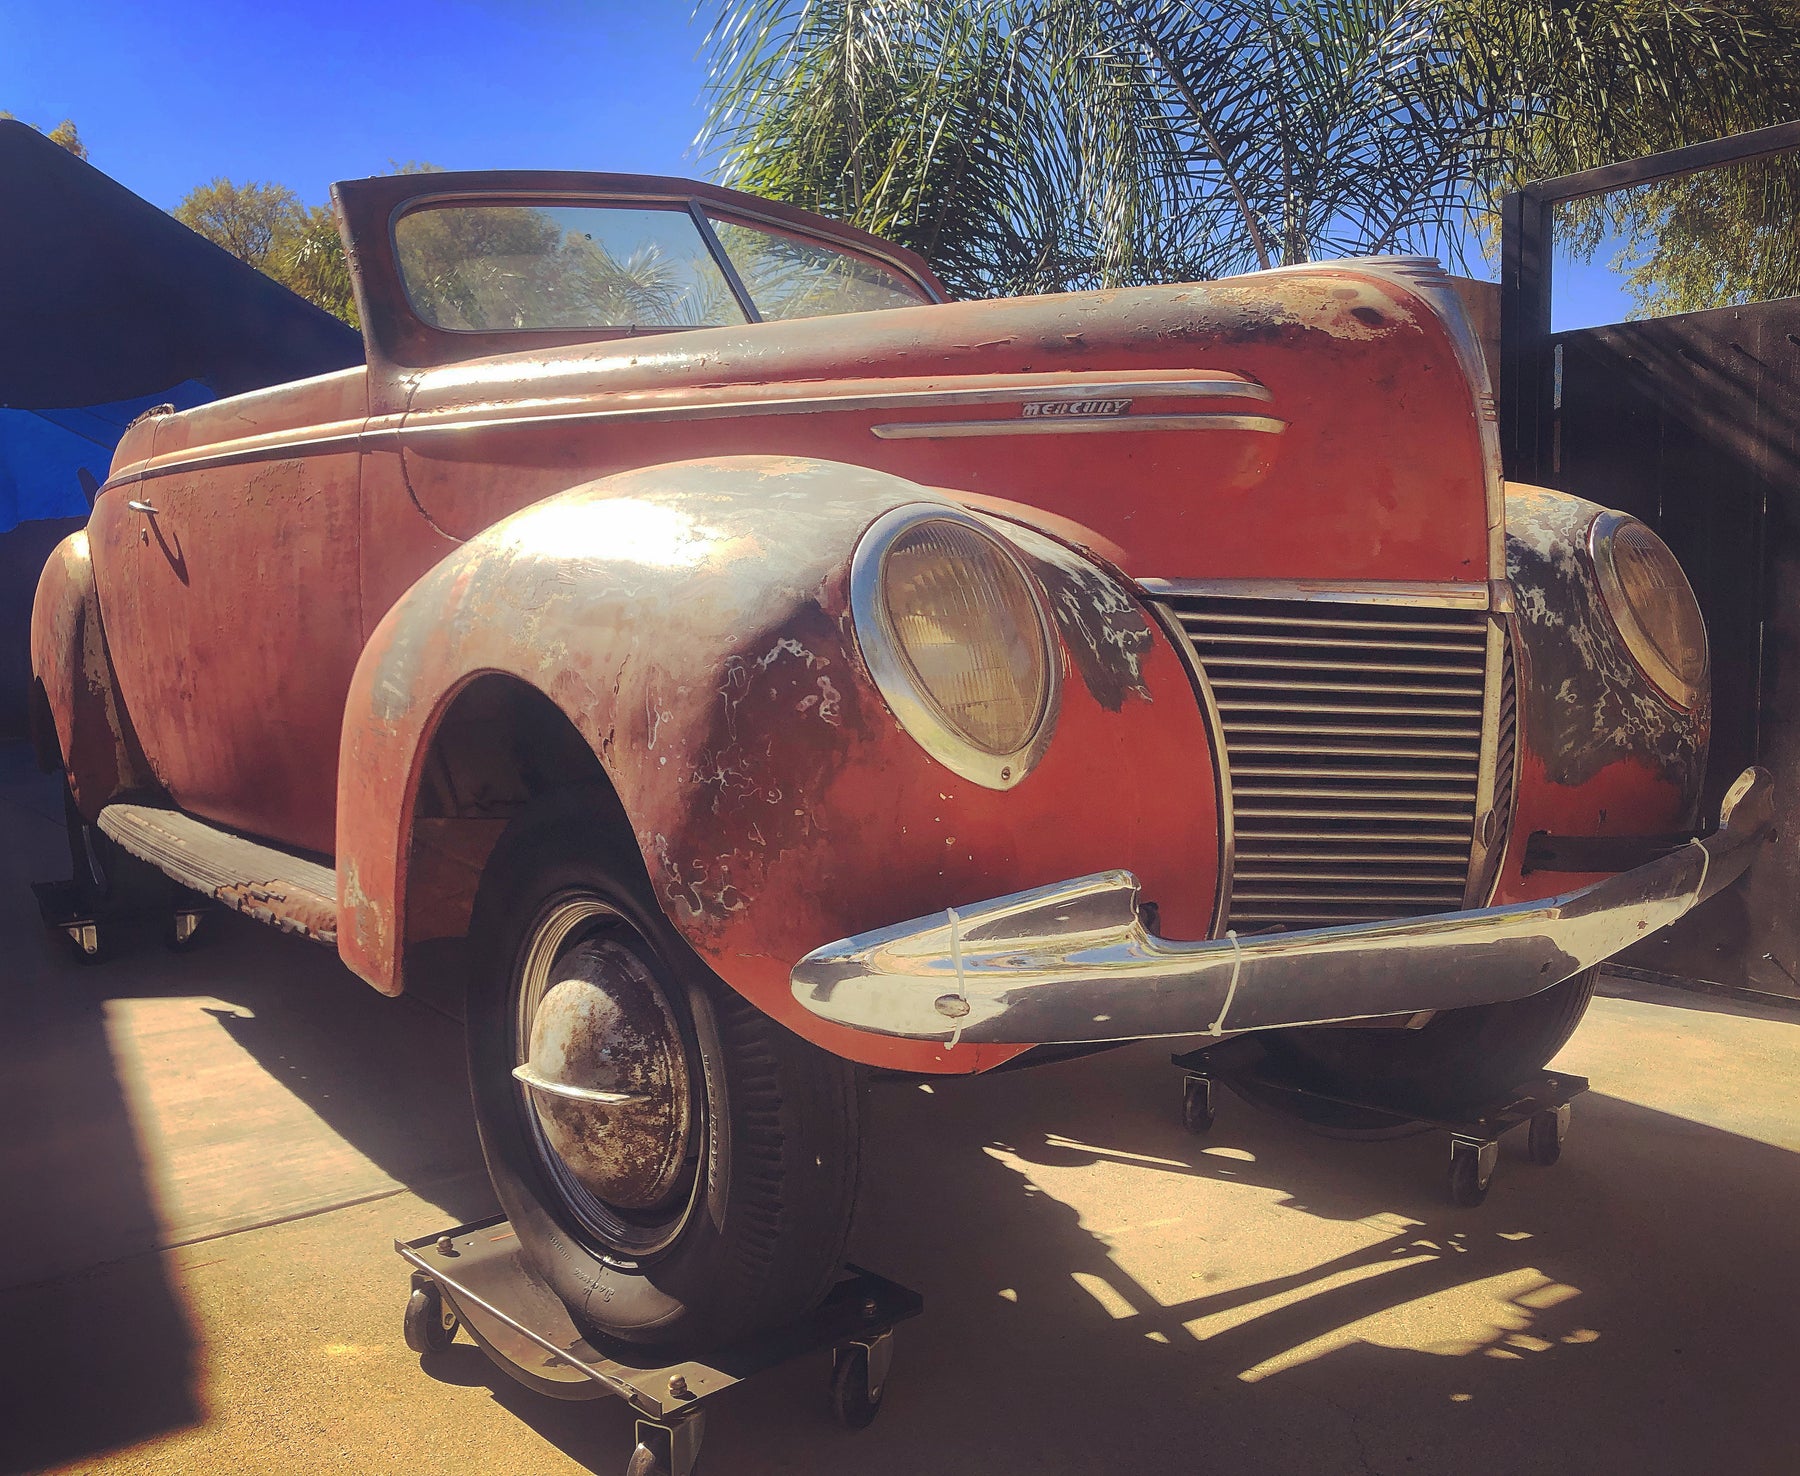
Tom Hanks once said "If it wasn't hard, everyone would do it. It's the hard that makes it great." The flipper hubcap was an iconic addition to customs of the early days which remains true to this date. Original hubcaps are heavily sought after and rarely seem to stay for sale long enough to even pull out your wallet. For many, the ideal rim is the 1940 Ford rim which provides one with the task of needing to convert their flipper hubcaps to properly mount to the rim. No matter what the hubcap was originally made to fit the conversion process is essentially the same. The following will detail one way to convert this iconic hubcap to fit a '40 Ford rim and can serve as a guide if you decide to go a different route in making your conversion a success. Let's follow along as our own Eric Justus will walk you through the step-by-step process on getting this done.
Parts and tools used:
-flipper hubcap
-donor hubcap that fits 1940 Ford rim (or rim of your choice)
-Tape measure/ruler
-Die grinder
-Tig welder: Everlast power tig 200 DV
-Amps set at 30
-Gas lens with a #9 cup
-2% Thoriated, 3/32" tungsen rod
-Amps set at 30
-ER706-2 .035 filler rod
1) As you can see the back side of either of these flippers will not mount to our 1940 Ford rim. In order to make them fit a donor hubcap will be needed to make the conversion. We were lucky enough to find some junker hubcaps but you can also buy new hubcaps if necessary.


2) For this application we started out with a raw steel rim to make the process easier (no paint to worry about). Pop your donor hubcap on and trace a reference line around the perimeter of the hub cap on the rim itself along with 4 witness marks (highlighted in black for picture purposes) and proceed to do the same with the flipper hubcap. This will help to ensure your conversion is centered once complete.

3) Using masking tape on the backside of the hubcaps we located the center of each hubcap. Once we located center on each cap it was a matter of simple math to determine how much of the donor hubcup we would need to cut out and add to our flipper hubcap (shown in step 4). We also measured the depth of each hubcap O.D. to top of the lip of the center attachment which has been highlighted by the red line below the ruler. This will determine how well your hubcap stays on the rim.


4) Using a die grinder (you can use any cutting apparatus of your choice) the donor hubcap was cut out along with the flipper hub cap. In the picture below you can see the inside line which was our rough edge of where we needed to cut the flipper hubcap. The outside line represents the outside diameter of what we will be using from our donor hubcap.

5) For this application, we decided to leave some meat from the flipper hubcap on the backside and place our donor hubcap piece on top of the what remained on the backside of the flipper hubcap to allow for some extra strength and ease of lining up the donor piece (reference step 4). Since this is a backside of a hubcap that no one will see we decided to make this conversion as simple as possible. For the detail freaks, the sky is the limit. Using the same process explained in step 4, the donor piece was centered and tacked. Going back to our rim, this is where the reference line and witness marks come into play. Placing our bastardized cap on our rim we easily determined that the donor piece was centered. *Note: As the donor piece is only tacked, we did not pop the cap full into place.
6) The decision on how you want to connect the two pieces is solely up to you but for this conversion we decided to tig weld the pieces together. After everything is cleaned up 5 welds, about 1 1/4" long, were placed evenly around the perimeter of the donor piece. If you have not welded anything like this before, especially when using old parts, we recommend using some of the discarded pieces for practice prior to your final beads.

7) And here is the final product. You can see the comparison of our flipper hub cap before and after modification. To ensure our prized possessions don't scoot off down the road while we are driving we brought the lip of the ring which snaps into the rim forward 1/16" which in turn made the hubcap deeper and more secure when placed on the rim.


Leave a comment