Free U.S.A. Shipping on Orders over $100 (excluding print on demand items)

Adjusting Early Ford Brakes
Story and Photos by Zac Parks
Check out more from Zac on his Instagram Account: @wiredcustoms.va
Early Ford Hydraulic Brakes, or as we call them "Juice Brakes" are hotrod gold to us Traditionalist.There were two major backing plates that are most used and most common, and they have "Eccentric" style shoe adjusters. There is the 1939-1942 Passenger car style, then the 1946-1948 passenger car style, both of which have great stopping power when adjusted correctly.
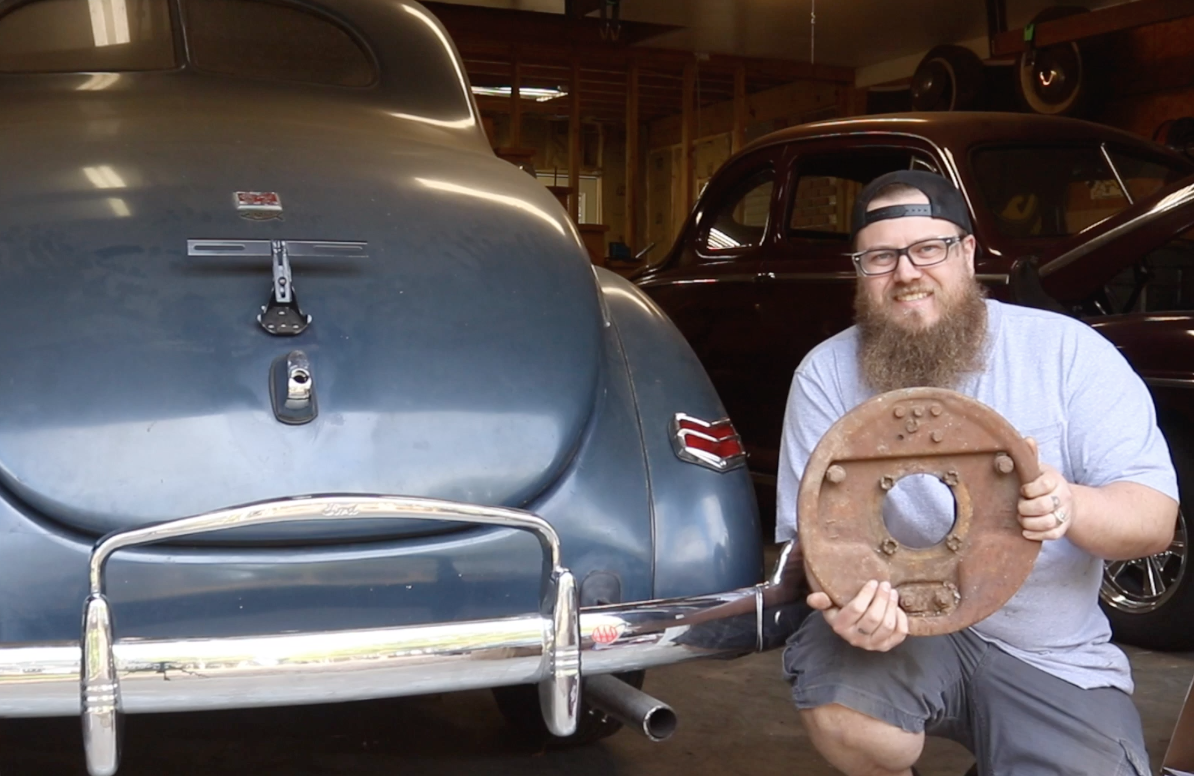
We are going to be using 39-42 style backing plate as the example, you can see it here below and identify it with the lower anchor pins that bolt though the backing plate, the 46-48 backing plate the anchors are built into the backing plate and not bolted in.

Below, you can see the eccentric and cam adjustments highlighted. The tops and the bottoms are all adjusted individually, and will need to be adjusted the same from one wheel to another, otherwise the car will pull to one side during hard braking.

Now let's get into adjusting them as if you are doing your routine oil change and brake check. Of course you'll want to jack the car up and sit it on jack stands (preferably not from harbor freight) and be able to spin the wheel without it touching the ground. I like to go ahead and "reset" each adjustment so I know how much the pads are touching. What you want to do is loosen the lower lock nuts on the eccentric anchor pins shown in the first picture below. Then in the second picture you can see me adjusting the eccentric so the brake shoe no longer touches the drum, you'll need to spin the wheel when adjusting, this way you'll be able to feel when the shoe stops producing drag on the drum. Repeat this so the front and rear shoe bottoms are no longer touching the drum.


Repeat this process for the upper cam adjusters as well, getting you to "reset" shown below.

Now that none of the shoes are contacting the drum, we can adjust one at a time and feel just how much each adjustment is making a change. I like to start with the lower anchor pins. while spinning the wheel you are going to use your special wrench, like I have in the picture below, to move the eccentric lobe and push the shoe so it slightly starts to drag on the drum. Note it should not be hard to spin the wheel. After you get the slight drag then tighten down the lock nut making sure the anchor pin does not move when tightening the nut. Repeat on the opposing shoe.

Next, we are going to do the same thing to both adjusting cams one at a time, keep spinning the wheel until you can feel slight drag on the drum. Luckily, the adjusting cam has built in springs that keep them from spinning during operation, these being slightly hard to turn is a good thing. If they spin freely then you need to check the spring and possibly replace the backing plate.

Now that's just one wheel! Keep in mind these cars were built a long time ago when cars were extremely hands on, one reason why I love them so much! So now that you have all 4 adjusted carefully, it's time to take it for a test drive and check the brakes once more. You'll need a good spot to really hit the brakes hard and see if the car pulls one way or another. As an example let's say the car pulls right hard, you'll need to jack the front up and make sure the suspension and steering components are tight. If they are then we need to make brake adjustments! The car can pull right due to the right brake being adjusted too tight, or the left brake not being adjusted enough. Give both a good spin and determine which has occurred, make your adjustments and go out for another hard stop, when adjusted correctly the car will be able to lock up all 4 tires and not pull in either direction. It takes some time to get them perfect, but when they are set up correctly, the brakes are just as good as later style drums and they look awesome on an open wheel car! Now that you learned something today, stop reading this article and Get Your Shift Together!


Comments
Leave a comment